First agent
This is the recommended path from "I have an LLM app" to "NullRun is gating my spend and tools". Each step links out to deeper docs only when you need them.
1. Sign up and create an API key
- Go to nullrun.io and sign in.
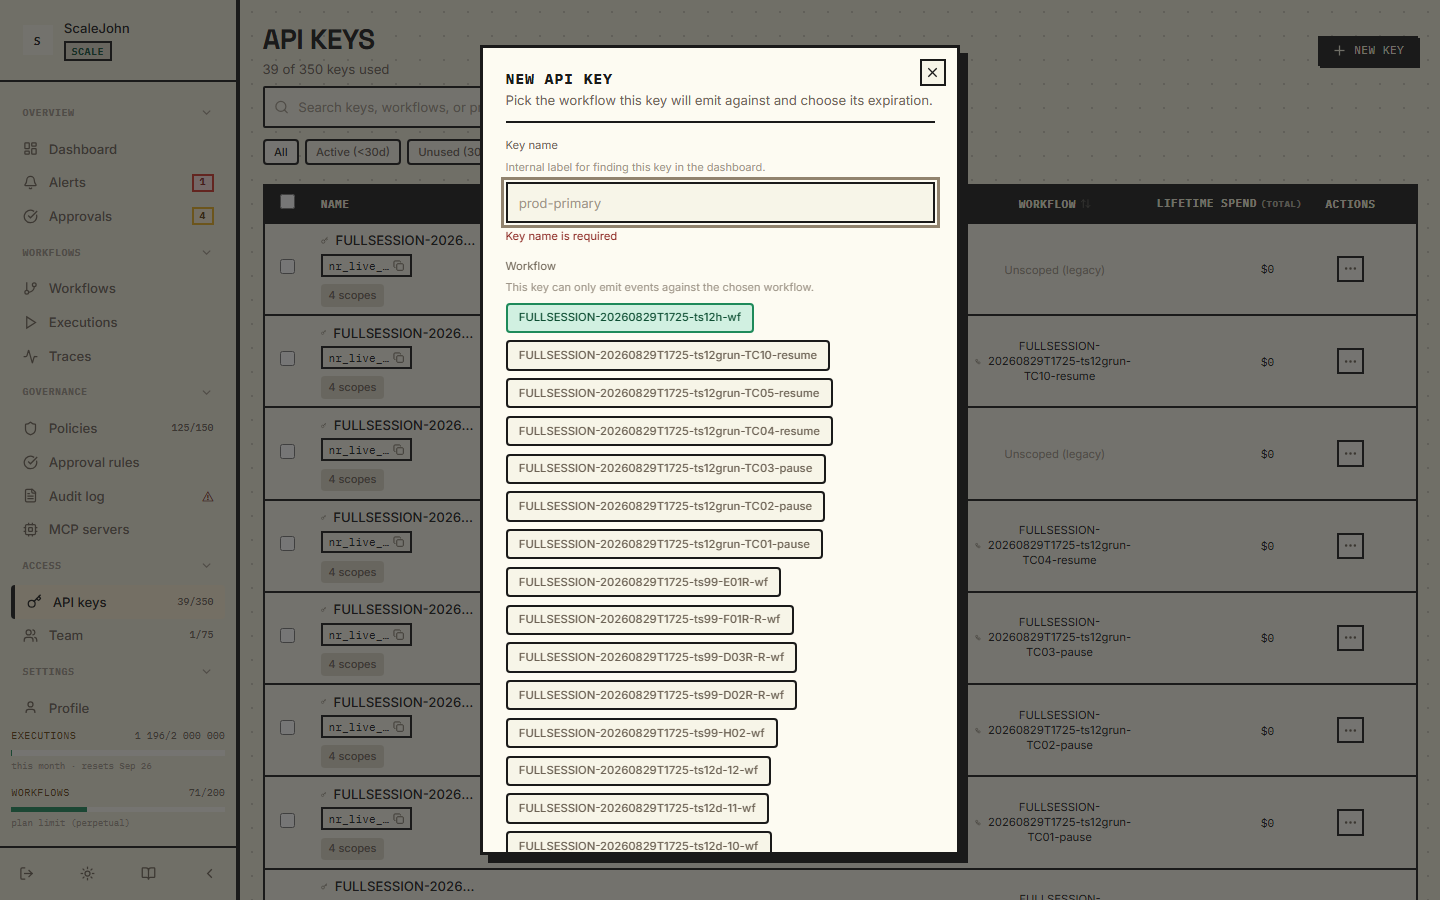
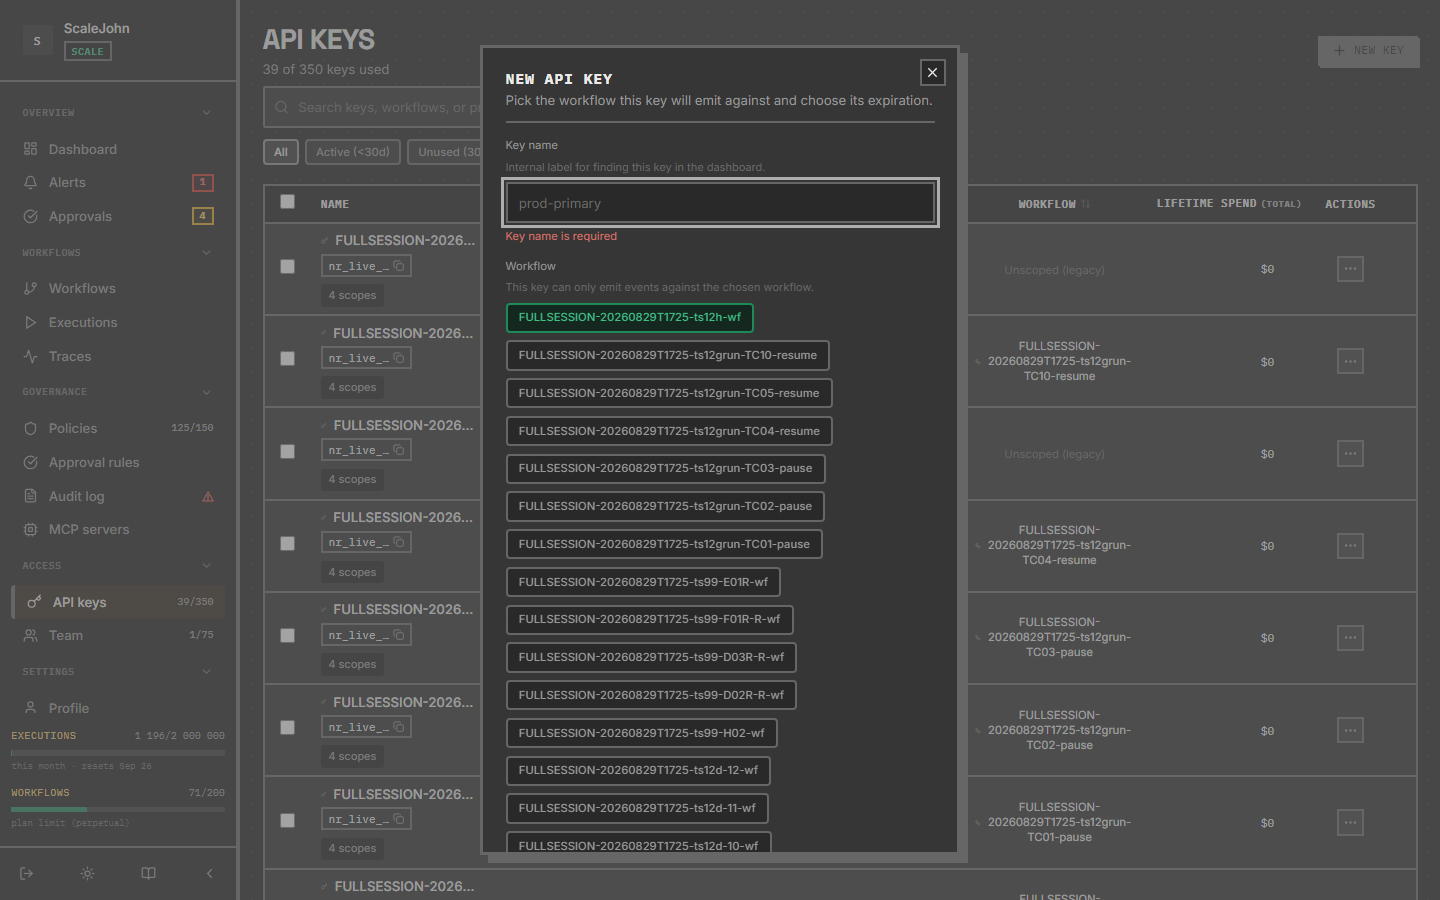
- In the sidebar, under Access, open API keys, then click New API key in the top right.
- Pick a name (e.g.
"my-first-agent") and the workflow you want the key bound to. Each key is workflow-scoped — it represents one agent run, not one workspace. - Copy the key (
nr_live_…) shown once and store it somewhere safe (env var, secret manager). You'll need it in step 3.
2. Install the SDK
pip install "nullrun[openai]"     # raw openai SDK + tracking
pip install "nullrun[langgraph]"  # if you're using LangGraph
pip install "nullrun[agents]"     # if you're using OpenAI Agents SDK
pip install "nullrun[all]"        # every vendor extra — heaviest install
See Install for the full list of extras.
For this walk-through nullrun[openai] is enough.
3. Wire NullRun into your code
Pick the pattern that matches what you have today:
A. You already call client.chat.completions.create(...)
import nullrun
from openai import OpenAI
from nullrun import init_or_die, protect, shutdown

# 1. One line — reads NULLRUN_API_KEY from env if not passed.
init_or_die(api_key="nr_live_...")

client = OpenAI()

# 2. @protect gates every call through NullRun before it runs.
@protect
def answer(prompt: str) -> str:
    response = client.chat.completions.create(
        model="gpt-4o-mini",
        messages=[{"role": "user", "content": prompt}],
    )
    return response.choices[0].message.content


# 3. shutdown() flushes pending events and closes the WS cleanly
#    — register via atexit in production scripts.
if __name__ == "__main__":
    try:
        print(answer("What does NullRun do?"))
    finally:
        shutdown()
Every call inside answer() is cost-attributed. @protect is the
gate (budget pre-flight + kill check + sensitive-tool decision),
not the tracking mechanism — tracking is handled automatically by
auto-instrumentation.
B. You use a framework (LangGraph / CrewAI / OpenAI Agents / AutoGen / LlamaIndex)
Auto-instrumentation does the same thing — see
Use with LangGraph or any of the other
framework how-tos.
Most of the time the only line you add is the init() call.
4. Set a budget
In the dashboard, open the workflow your key is bound to and set a
budget_cents. A reasonable starter budget:
| Use case | Suggestion |
|---|---|
| Personal / dev experiment | 500 ($5) per period |
| Single-tenant internal tool | 2000 ($20) per period |
| Customer-facing AI feature | 10000 ($100) per period with alerts |
Periods are either calendar-month UTC (Lite) or your billing cycle (paid plans via Polar). See Budgets → Period rollover for the detail.
5. Run and observe
Then open the dashboard → Workflows → your workflow → Executions.
You'll see every /gate call (one per @protect-wrapped invocation),
the policy verdict (allow / block / rate_limit), and the cost.
For real-time spend, hit
GET /api/v1/orgs/{org_id}/status
— it returns current_spend_cents, budget_cents, time_to_exhaustion,
and your plan caps in a single call (see the Single-call status
example under "Common request patterns").
6. Tighten or loosen
Common next steps, in rough order of how often they're needed:
- Block a tool the agent shouldn't touch — see Tool policies and the recommended ToolBlock starter list in the Tool catalog.
- Allow over-budget for long agents — see Chain context → soft mode.
- Forward every error to Sentry — see Error handling → on_error hook.
- Pre-flight keys before risky calls — see Human approval.
What this walk-through didn't cover
- Multi-process / multi-key patterns — see Run multiple agents.
- Self-hosted gateway — see your on-prem deployment runbook.
- Streaming responses — see Stream with chain heartbeat.
Where to read next
- Concepts → Circuit breaker —
the mental model behind
@protect. - Concepts → Error handling — the three-layer error model.
- Concepts → Workflow context — what the
with nullrun.workflow(...)block does.